
Interior photography: features and differences, nuances, techniques and how to shoot correctly
Content:
- Differences between interior photography and other types of photography
- Equipment and accessories for interior photography
- Main angles for interior photography
- Interior photography: nuances and advice from professionals
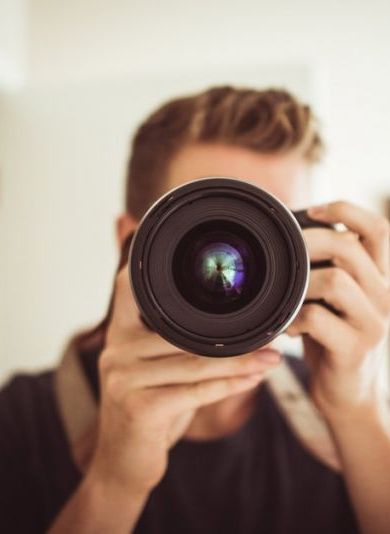
Sometimes situations arise in life when high-quality interior photography is required. You can’t do without good photographs if you need to sell an apartment, rent out real estate, or offer clients your services as a designer, realtor, or home renovation specialist. It is not always possible to invite a professional photographer, but you can take photographs that demonstrate all the advantages of the object yourself. But you will have to learn some of the features, subtleties and secrets of interior photography.
Differences between interior photography and other types of photography
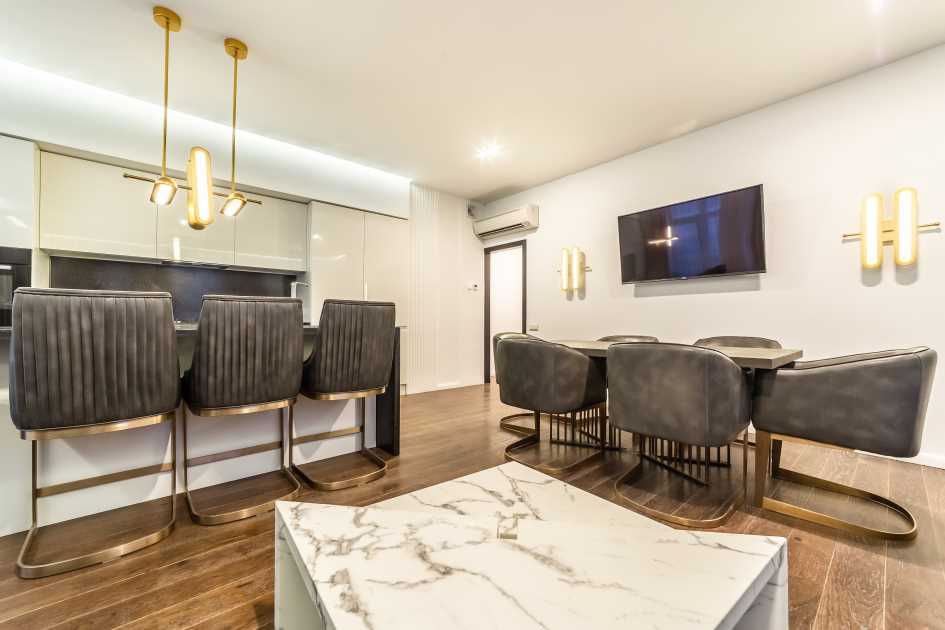
Interior design photography involves photographing a room and its furnishings: pieces of furniture, accessories, finishing details. The main difficulty of such shooting is the need to keep all the details in focus, down to the smallest nuances. A mandatory requirement is usually the absence of strangers in the photo, as well as the presence of daylight.
But during the day the room may be too crowded (for example, when shooting restaurants and other public places). As a rule, owners do not want to close the property during a photo shoot. Therefore, the photographer has to look for an alternative: take several frames from one angle, and then overlay them on top of each other and process the results in a photo editor, removing images of people. The opposite situations also occur: during filming there are no people in the location, but the customer wants to place them in the photographs.
.jpg)
Equipment and accessories for interior photography
It is impossible to create high-quality and interesting materials without the use of good technology. Of course, for one or two photo sessions you can get by with a smartphone, but if you plan to shoot interiors regularly, you should buy or rent the following equipment and accessories.
Camera
The best choice would be a full-frame DSLR camera designed for shooting in low-light environments. As for the brand, it is better to give preference to such “old-timers” of the photo market as Nikon, Canon or Sony.
Wide-angle lens
The main functions of an interior lens are to capture light and provide impeccable detail. Wide-angle optics cope perfectly with these tasks. The author of the photographs has an ideal overview, and the result of the shooting is of the highest quality.
The following lens characteristics are of utmost importance for a photographer shooting interiors:
- Maximum aperture value.
- Shift the lens, as well as its tilt.
- Focal length.
Experienced photographers advise photographing interiors with lenses with a focal length of 24-70 mm. Unlike 12-14 mm devices, a wide angle of 24 mm almost does not distort the geometry. As for details, it is better to shoot them at a focal length of 50 to 70 mm.
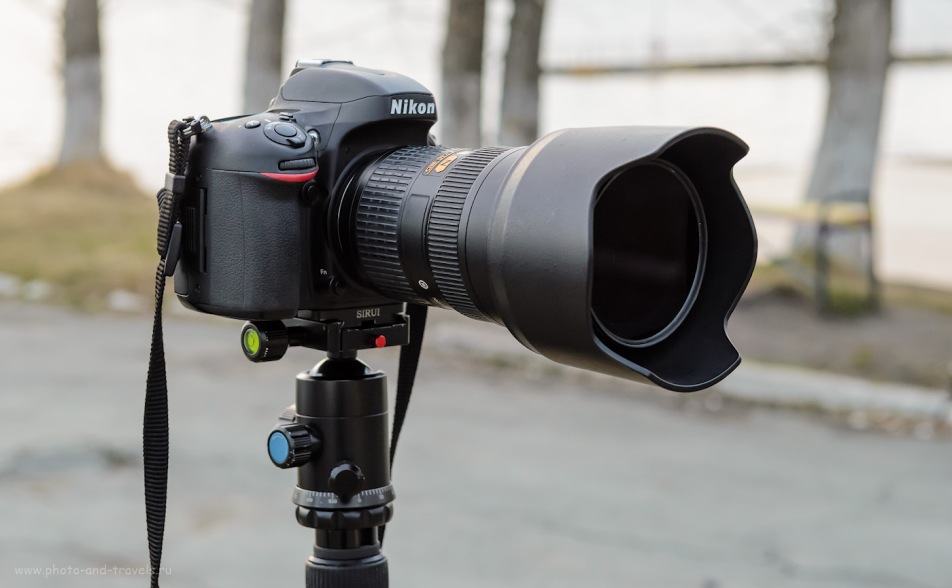
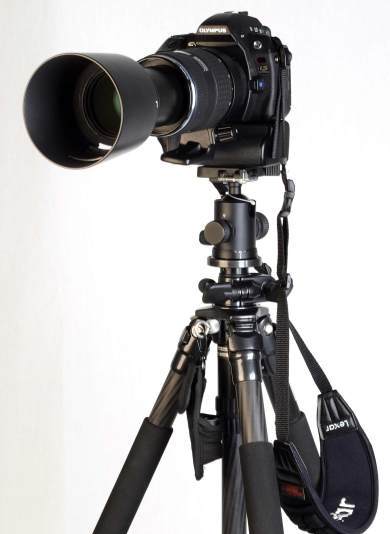
Tripod
It happens that the room is very poorly lit, and the frames turn out blurry. Installing the camera on a stable tripod will help solve this problem. Thanks to a tripod, you can quickly take a photo taking into account the required proportions and immediately see the result on the screen. Having assessed the overall composition, the photographer will see what is included in the photo and what is left out of the frame.
During the shooting process, you can move the camera mounted on a tripod, rotate the lens and adjust the focal length, and take successful pictures at long exposures. But, of course, the main purpose of a tripod is to fix photographic equipment in a certain position. Photos taken with it are clear, with maximum depth of field.
External flash
The easiest way to create the necessary lighting is to use an external flash. This device allows you to photograph the interior even in adverse conditions. In addition, it makes it possible to adjust to the focal characteristics of the lens, take a series of photographs, and create various lighting effects by rotating the rotating head. There is no need to buy an expensive flash for design photography: the simplest model is enough.
There is one more feature. As a rule, when shooting an interior, some details are illuminated with flash to give the image three-dimensionality. In this way you can get up to 30 frames from just one point.
Main angles for interior photography
The key to a high-quality interior photography result is a successful choice of angle. Unclear shooting angles can distort the objects depicted in the photo and ruin all your efforts. To learn how to shoot correctly, you should learn more about the main angles:
- Frontal angle (photographers call it “head-on”). When choosing this shooting option, the equipment is installed straight, at waist level or slightly higher. The advantage of this method is the ease of alignment of lines, the ability to photograph objects in detail or take close-ups, and the convenience of shooting regardless of the design features and location of interior items.
- Shooting at an angle of 45°. This angle is not recommended for shooting small spaces, but photographs of living rooms or, for example, commercial objects are quite impressive. The only point: you will have to monitor the position of the camera so that during shooting it does not move to the side and is not tilted.
And, of course, shooting interiors opens up scope for improvisation. If the result of the work is not satisfactory, then it’s time to experiment. Perhaps during the shooting process it will be possible to discover an unexpected angle that will become a calling card and the basis for creating a portfolio.
Another important factor is the layout of furniture and other interior items. In the art of photography, there are several plans: front (as close as possible to the camera), middle and rear. The highest degree of shooting skill is considered to be coverage of all plans: the resulting image will allow you to fully appreciate the design.
Interior photography: nuances and advice from professionals
Interior photography is a real art. A well-taken photograph not only reproduces the decor of a room down to the smallest detail, it is able to convey a special atmosphere, interest and hold the viewer. But in order to rent a living space in the most advantageous light, it is important to follow some rules. Here are some useful tips that will help you become a specialist in the field of interior photography and even find regular customers for your services:
- The ideal time for interior photography is during the day. A room filled with daylight looks spacious, cozy and lived-in. In addition, the photographer receives a natural source of lighting, which means there will be no need to use additional equipment. To make the most of daylight, it is better to open doors, pull back blinds or curtains.
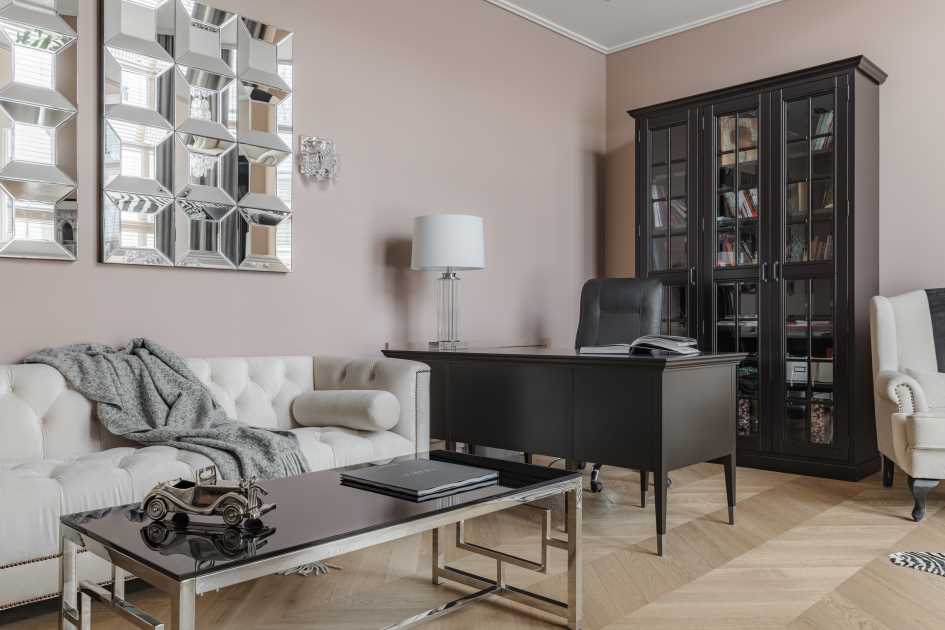
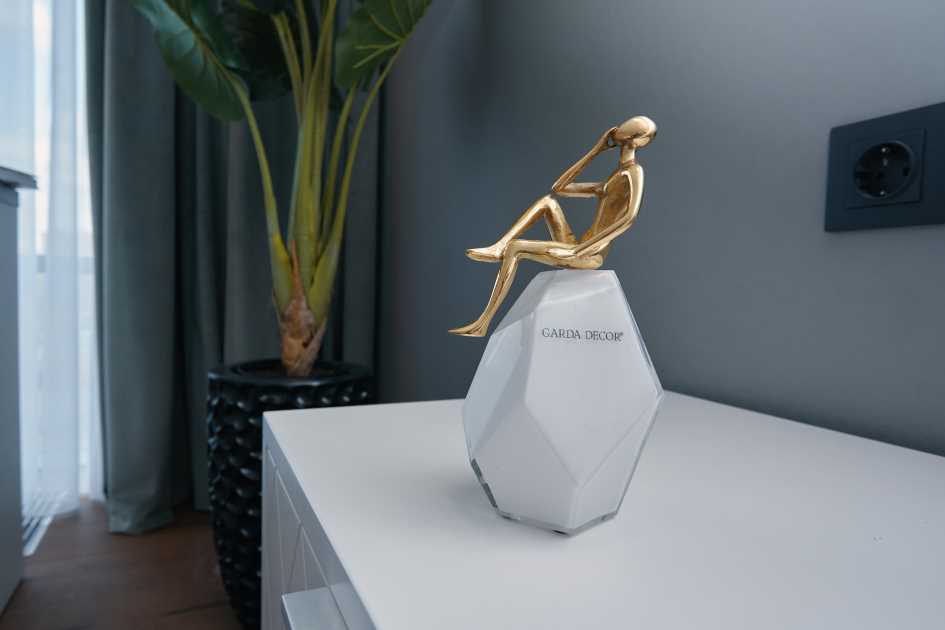
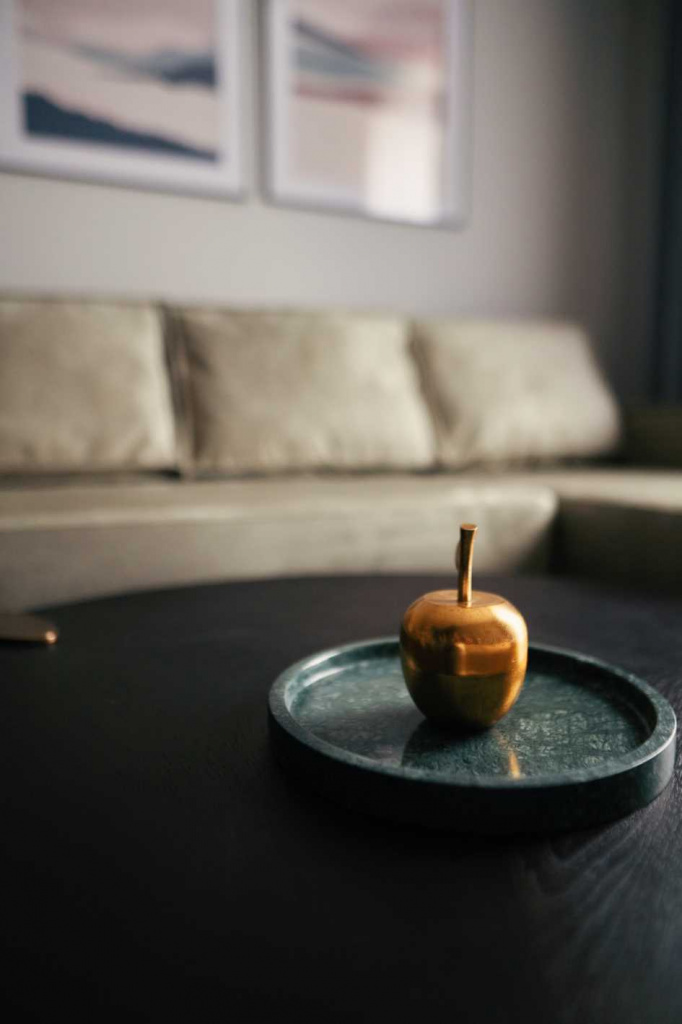
- Before shooting, you should remove all unnecessary objects from the room. A cluttered space will not add attractiveness to your photos, and retouching unnecessary details in the frame will take several hours. But here it is important to understand the purpose of the shooting. For example, a “carelessly” thrown blanket, a cup of tea and an open book convey an atmosphere of comfort - Western designers like to use similar shooting techniques.
- To present the design in the best possible way, during the shooting process you do not need to line up several objects with the same dimensions.
- You should be especially careful with mirrors. When there are a lot of them in the room, the photographer has to look for suitable shooting angles, otherwise he will then have to admire his image in the picture. However, as a last resort, there is always the option of editing the picture in Photoshop.
- Before shooting at home, it is recommended to do a thorough cleaning, paying special attention to the treatment of glass, mirror and glossy surfaces.
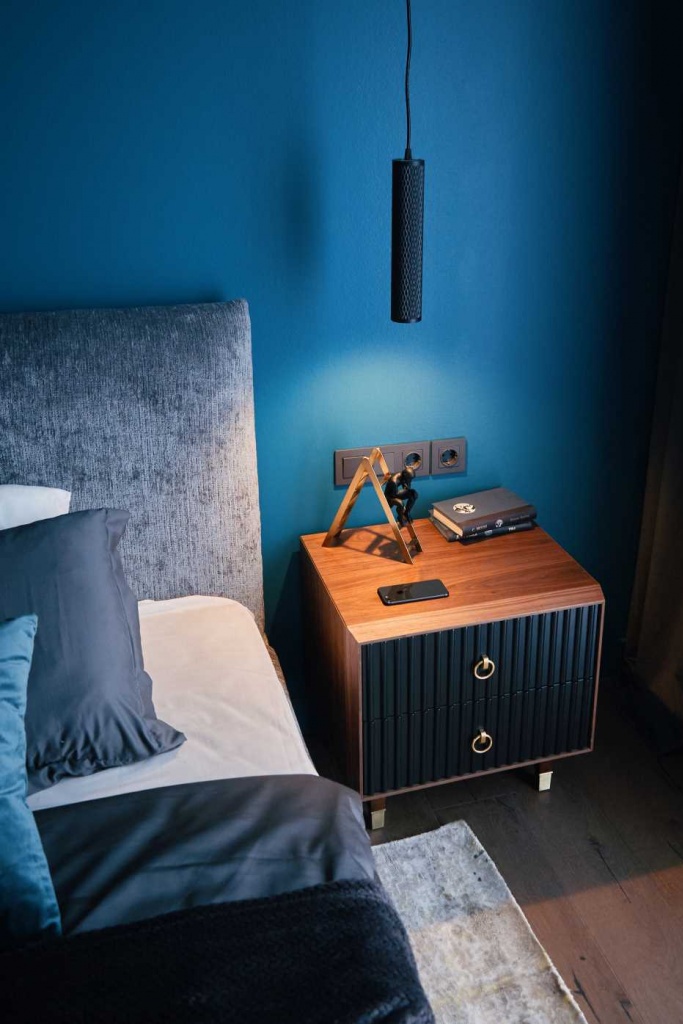
- If the shooting is carried out in the evening, it is advisable to turn on all the lighting devices involved in the frame (backlights, floor lamps, neon signs). This simple method will help make your photo brighter and make the room feel cozier.
- When shooting, the camera must be positioned so that the vertical lines do not collapse (distortion of the vertical lines “breaks” the space and makes it difficult to perceive normally). Tilt-shift lenses for filming or post-processing using a photo editor can help achieve a similar result, but in the latter case you can lose part of the image.
- If people (for example, establishment staff) must be present at the shooting, you should agree on the dress code with them in advance. The style and color of their clothing should match the interior and the overall theme of the shoot, or, alternatively, deliberately contrast with them.
The editor will help you erase all specks of dust, remove unsightly-looking objects from the photo, and clear images of any distracting elements. Photo editors also have other useful functions: cropping pictures, reducing digital noise, adjusting lighting and color balance. But during the editing process, it is important not to overdo it, but to preserve as much as possible the natural shades obtained during shooting.
By following these simple rules, you can learn how to perform high-quality shooting and take decent pictures. Of course, interior photography is considered technically challenging (compared to portrait photography, for example). However, the acquired skills will definitely be useful in everyday life, and if you try, interior photography can become a source of additional and quite solid income.
- Bedroom design - fashion trends and interior design tips
- Furniture for restaurants, cafes and bars: what is needed, requirements, features
- 11 useful interior designer tips: a practical guide from professionals
- How to open a furniture store from scratch and how much money you need for this
- Vases in the interior: how to correctly place them in the apartment and options for use< /li>
- The specific smell of new furniture: the reasons for its appearance and inexpensive ways to combat it
- How to become an interior designer yourself: what you need for this and where to start
- Furniture production: a view from the inside
- Checklist for choosing a furniture manufacturer: the most important criteria
- Where and how to find a designer: 9 steps to the perfect interior